
Attributes - Overview
What are attributes?
In a rule engine, attributes are pieces of information or data that are used to make decisions or apply rules. They help the rule engine understand and evaluate different situations or conditions.
For example, for an airline business, the attributes required to compute the point accrual would be:
- Flight destination: Determines specific rules or decisions for the destination.
- Passenger age: Applies different rules or policies based on age groups.
- Flight time: Triggers rules or actions based on departure or arrival time.
- Ticket class: Applies different rules or services based on ticket class.
Access the Attributes Manager
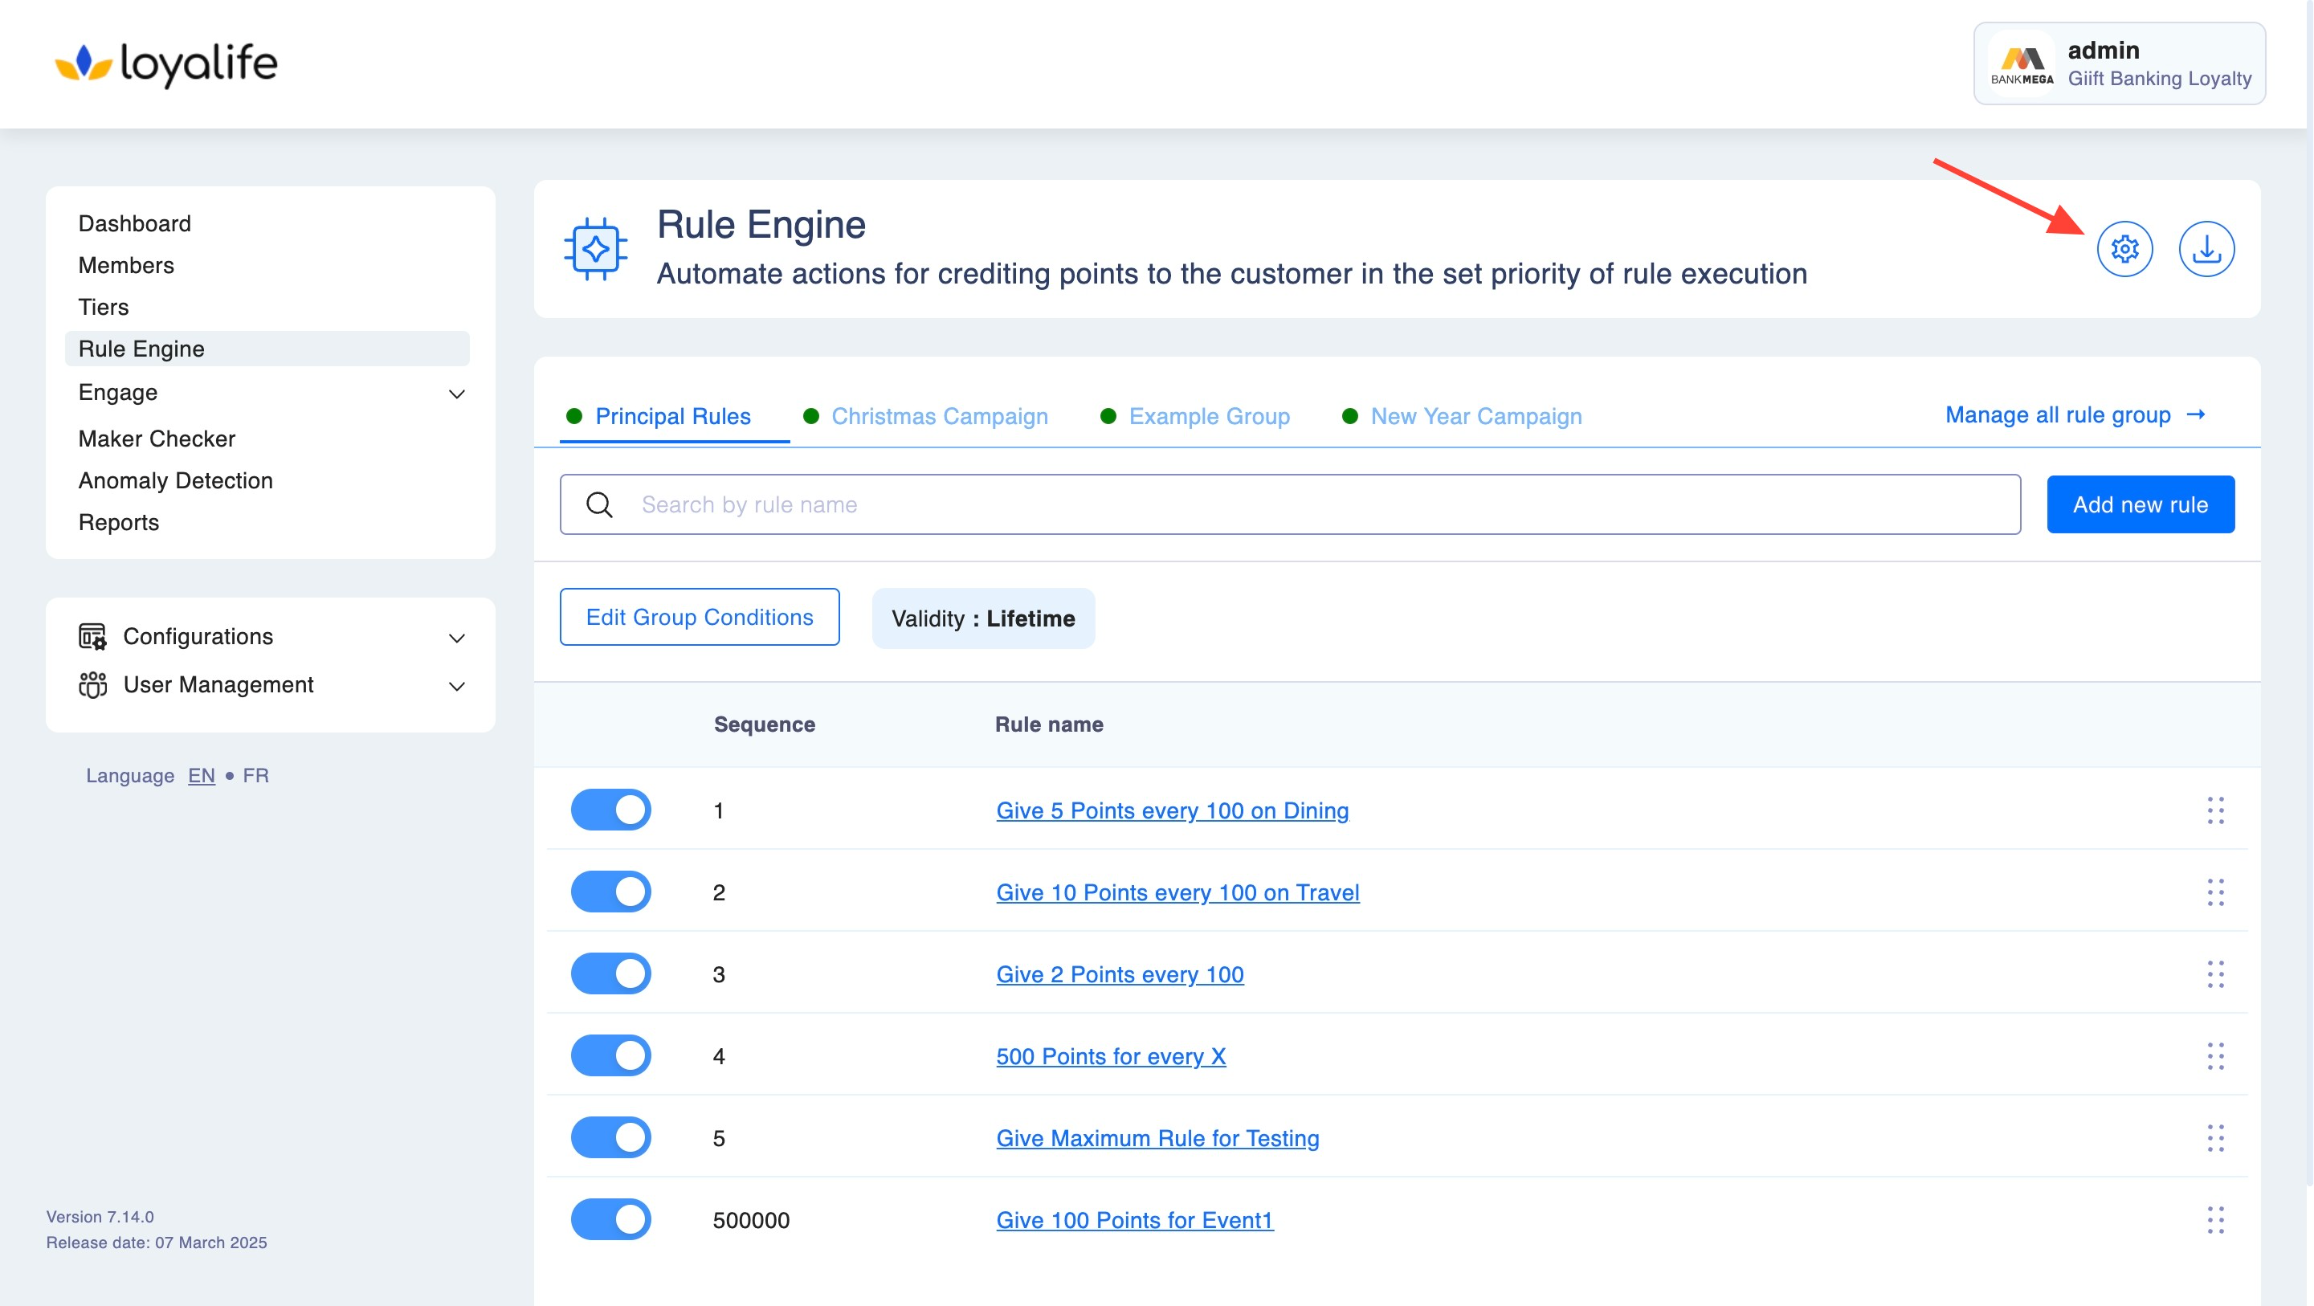
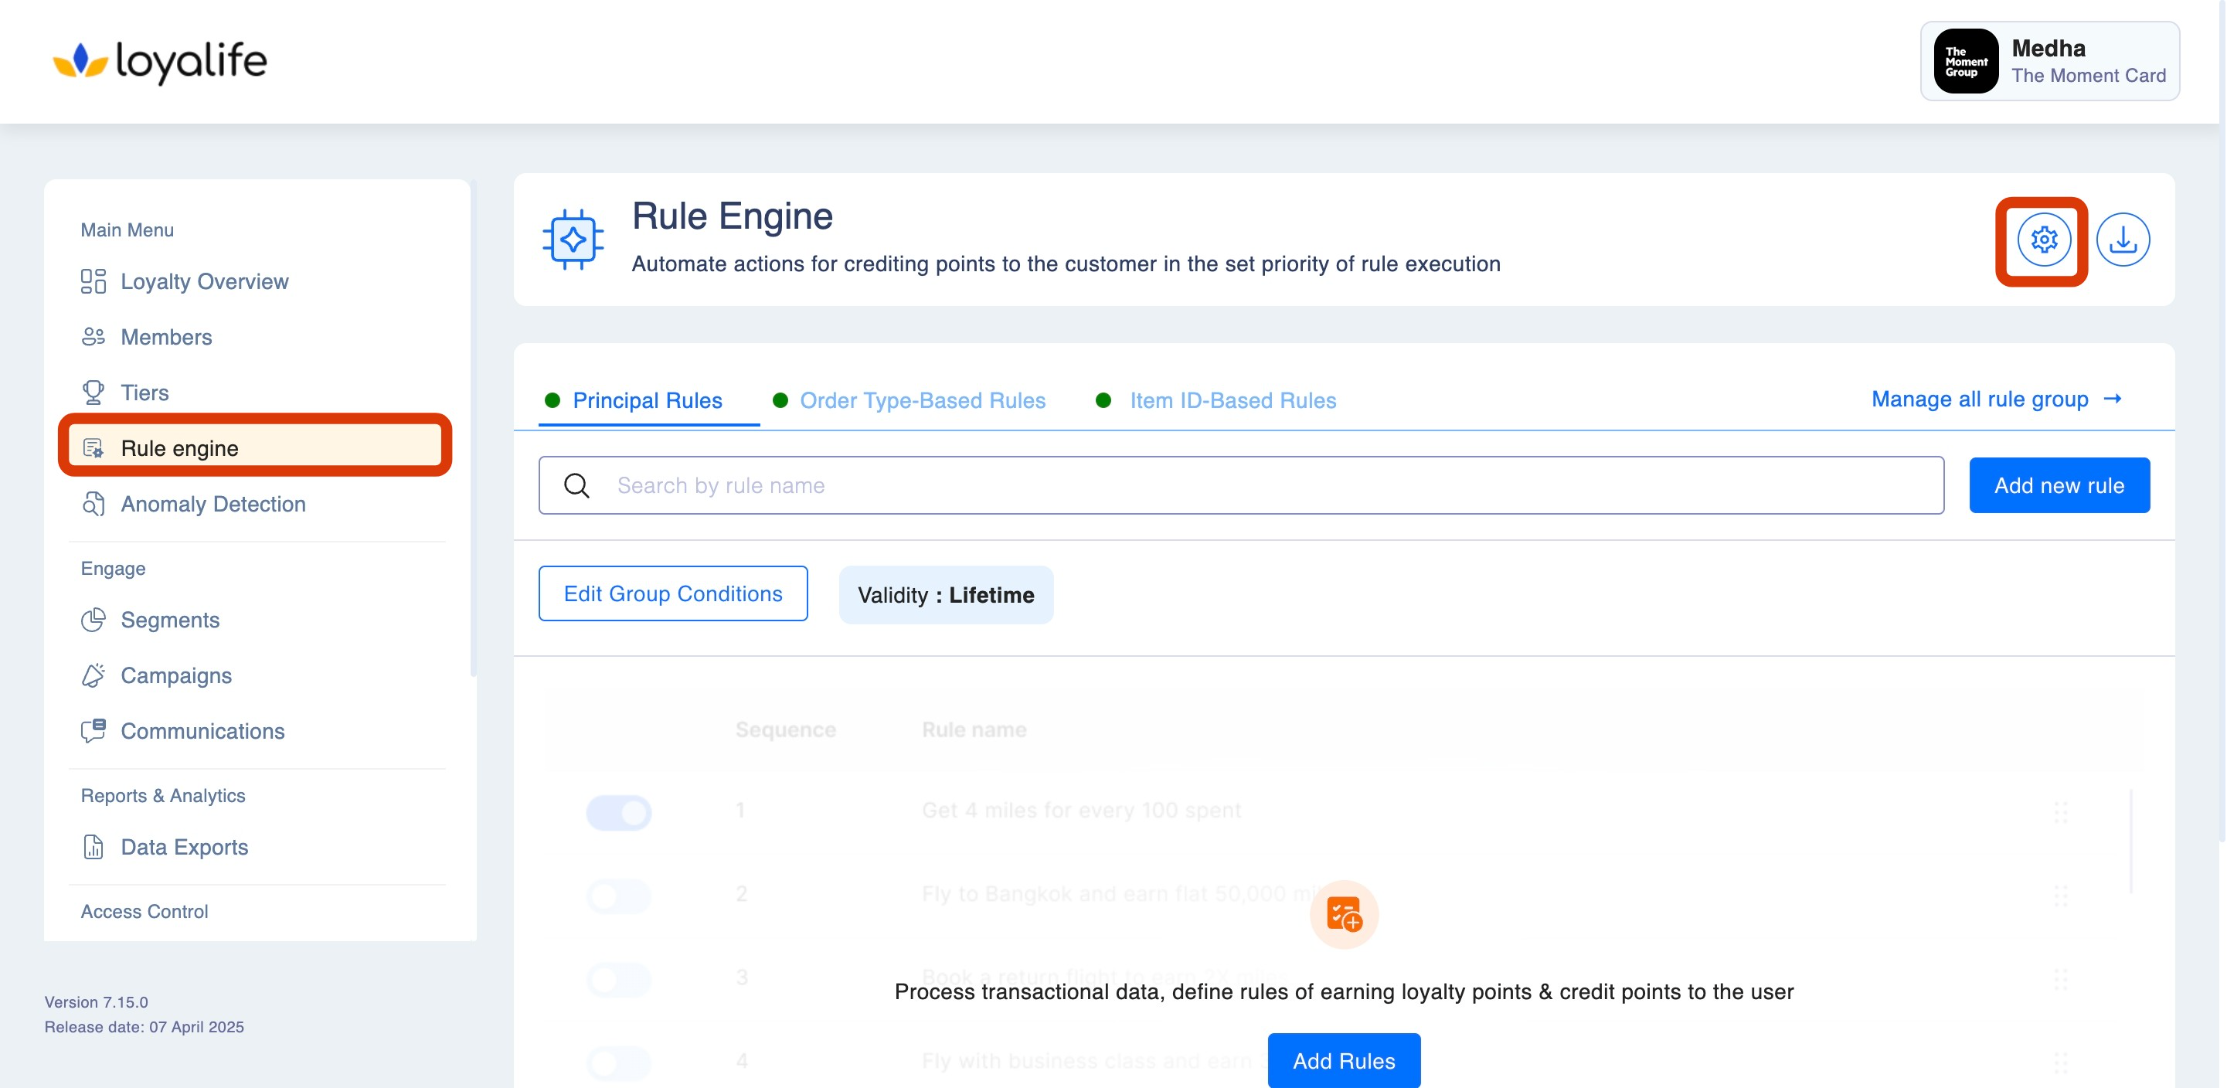
To access Attributes Manager, go to the Rule Engine tab and click on the settings icon at the top right, as shown in the image below.
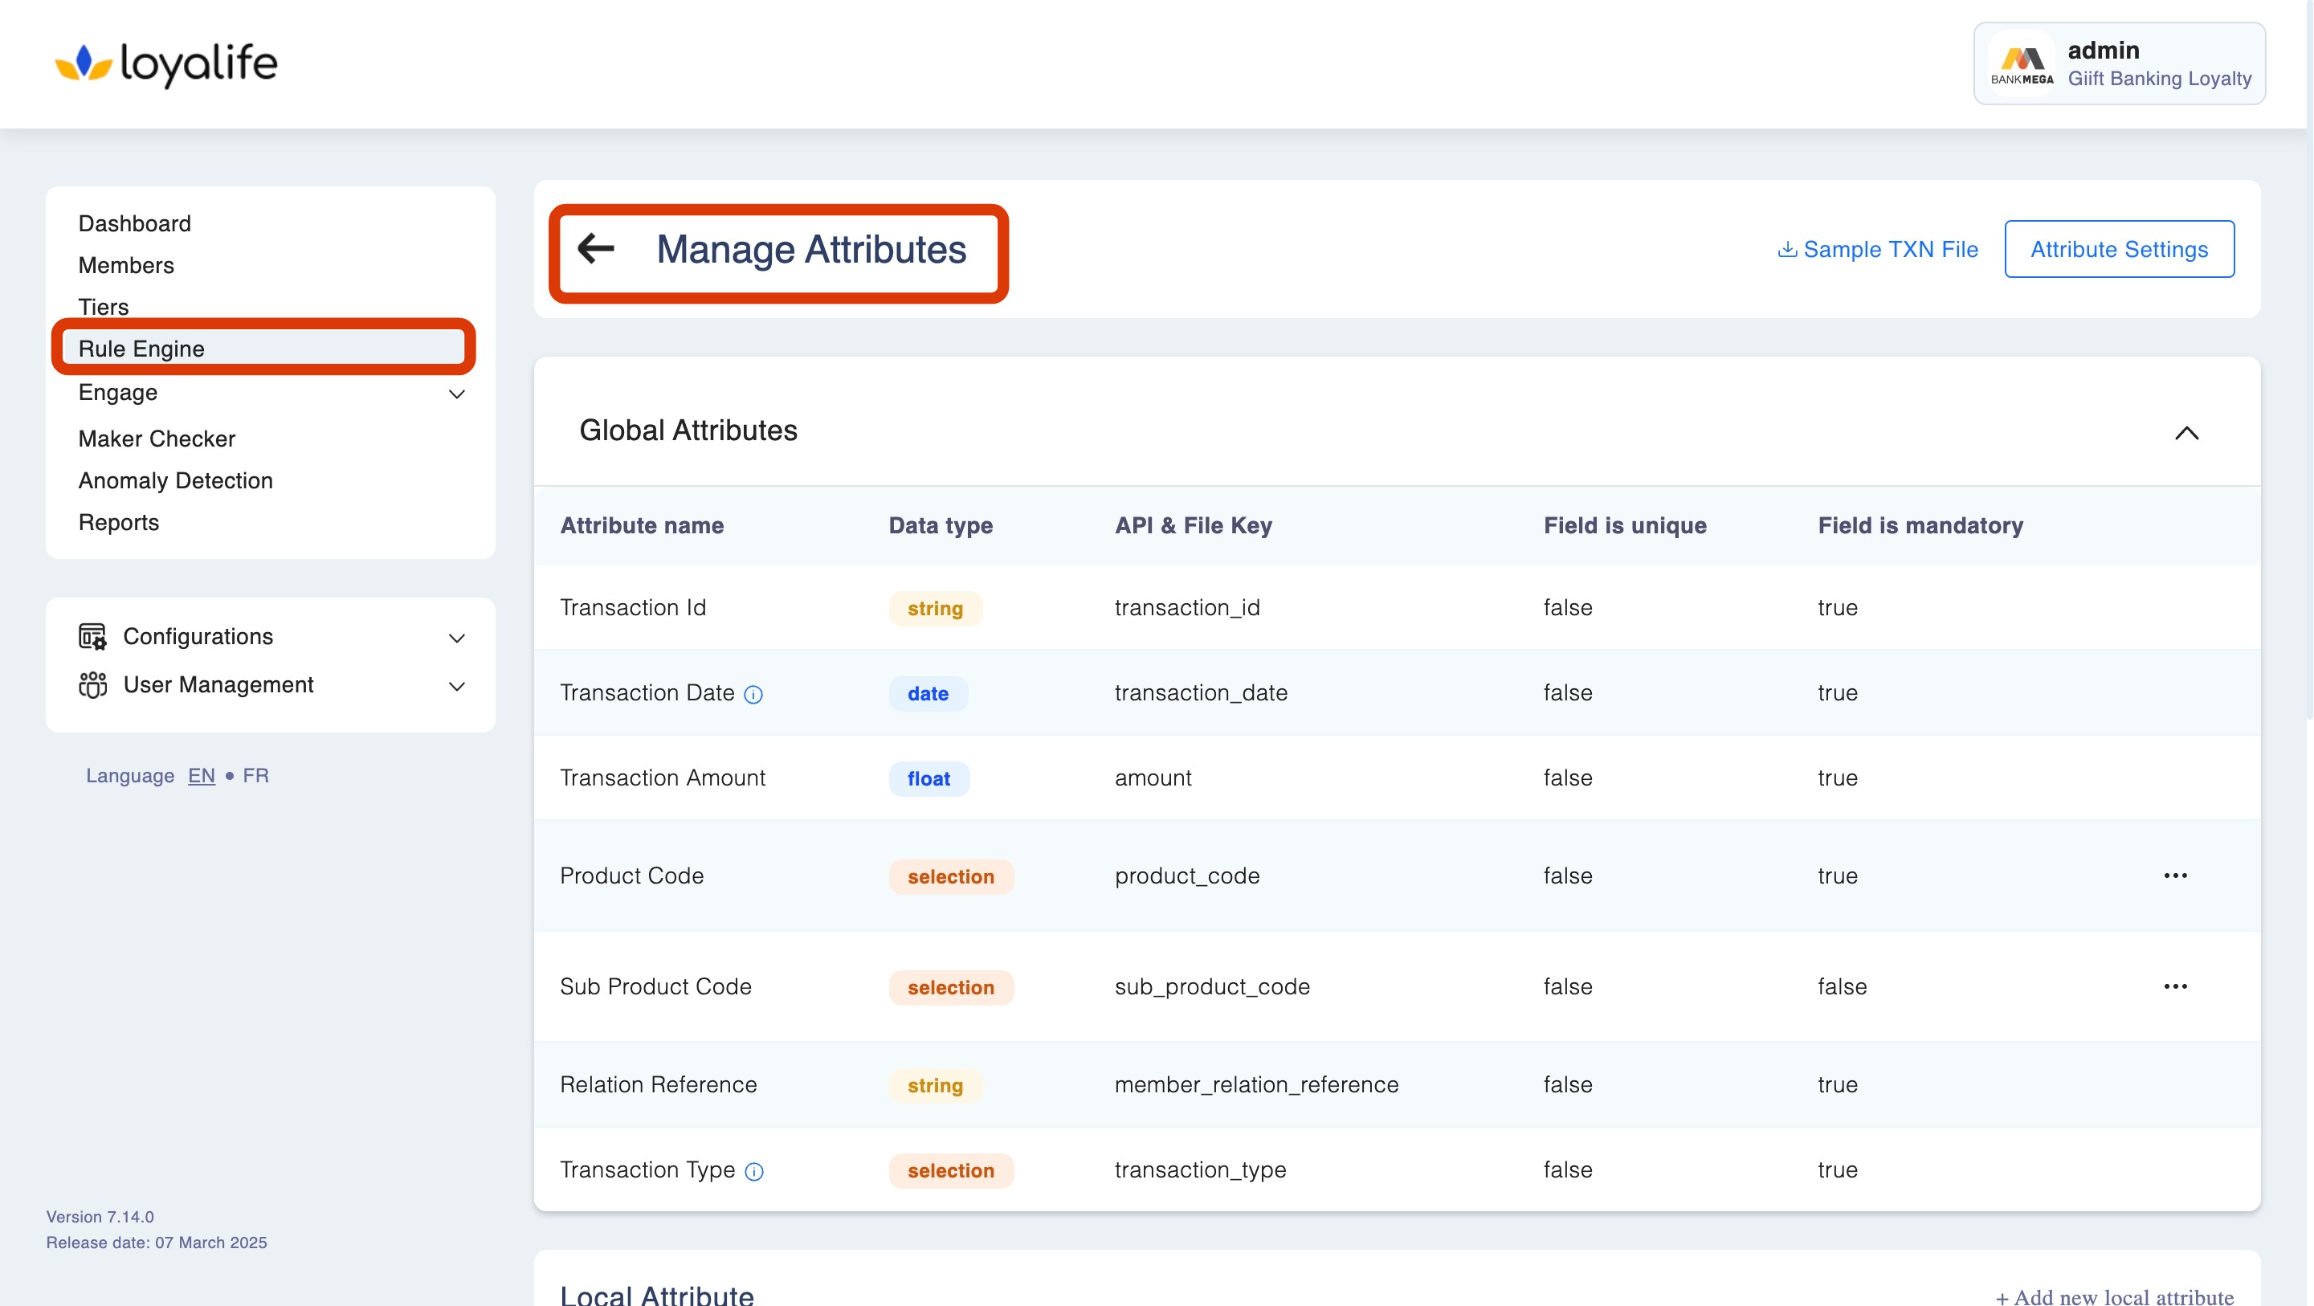
Attribute Field Description
The attribute has several fields that can be specified:
- Attribute name: This field is used to provide a name for the attribute.
- Data type: This field specifies the type of data that the attribute will store. It can be a string, number, boolean etc.
- API/File key: This field is used to specify the key or identifier that will be used to access the attribute's value from an API or file.
- The field is unique: This field indicates whether the attribute's value must be unique across all instances or records. If this field is set to true, then each instance or record must have a unique value for this attribute.
- The field is mandatory: This field specifies whether the attribute is required or optional. If this field is set to true, then the attribute must have a value and cannot be left empty.
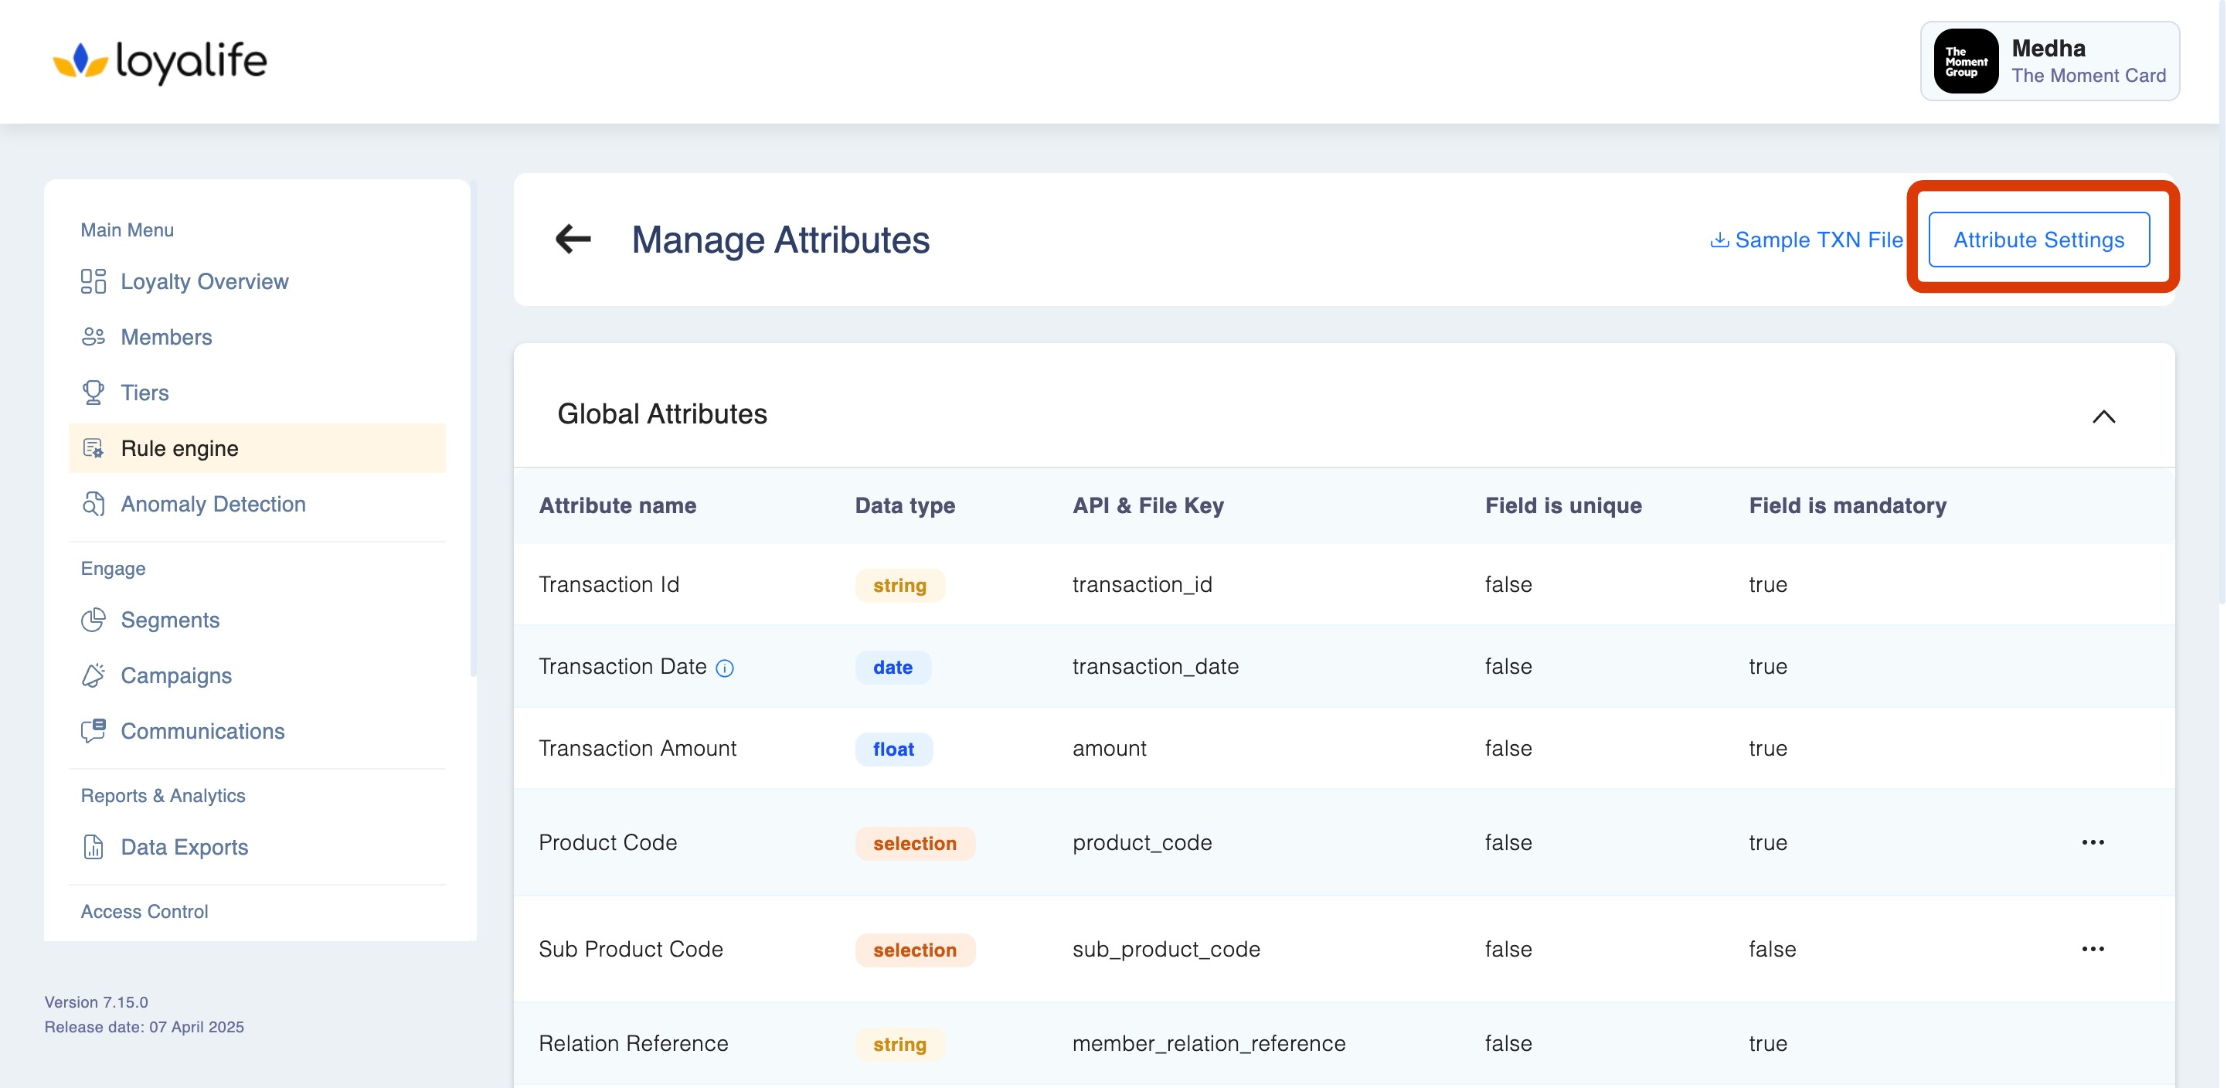
Managing Attribute Settings
Navigate to "Attribute Settings" and manage the settings based on your requirements. The Attribute Settings section in Loyalife allows admins to manage key configurations for:
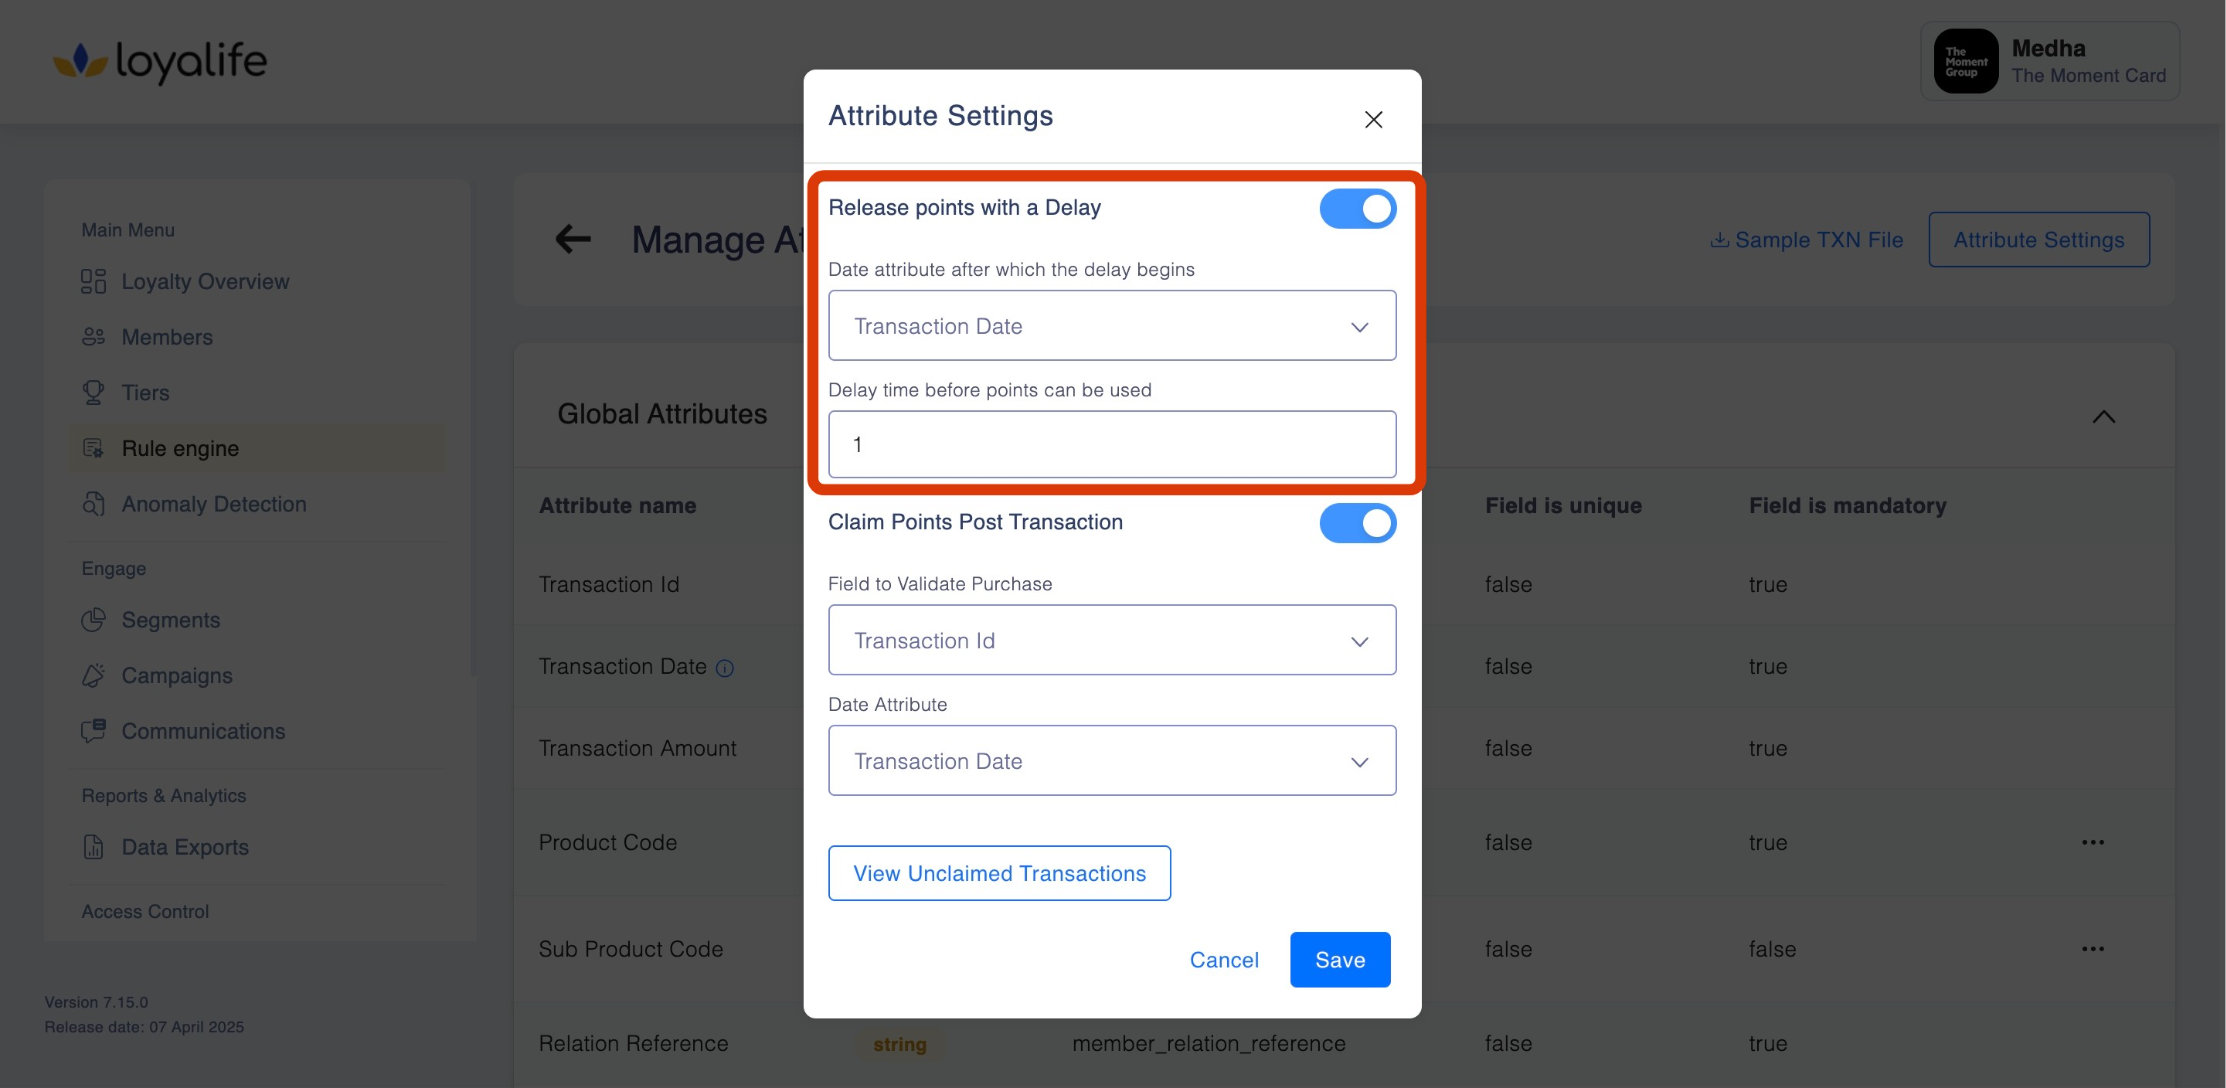
1. Release Points with Delay
This configuration allows you to delay the release (earning) of points after a transaction. Delaying points helps businesses handle return windows, fraud checks, or other conditions before points are made available for redemption.
How It Works?
- A delay timer begins after a specified date attribute.
- Points are released to the member’s account after the delay period ends.
Hows to Configure the following?
- Choose either: Transaction Date or Custom Start Date.
- Delay Time Before Points Are Used: Enter the number of days (e.g., 7 days delay before points are credited).
- Save the rule settings. Points will now be delayed according to this configuration. For Instance: If the Transaction Date: March 1st, 2025 and Delay Time: 7 days. The points will be released on March 8th, 2025.
2. Claim Points Post Transaction
This setting allows members to claim points manually for transactions where points were not automatically credited. It requires validating specific transaction fields.
How It Works?
- Members or admins can submit claims for missing points.
- The system validates the claim based on the chosen transaction identifier.
Hows to Configure the following?
-
Field to Validate Purchase: Choose one of the following validation fields:Transaction ID, Product Code or Sub Product Code.
-
Date Attribute: Choose the transaction date reference which can be either Transaction Date or Custom Start Date.
-
Save the configuration. For Instance
- A member submits a claim referencing their Transaction ID.
- The system checks whether this ID has been used before and validates the claim.
- Points are credited if the claim is successful.
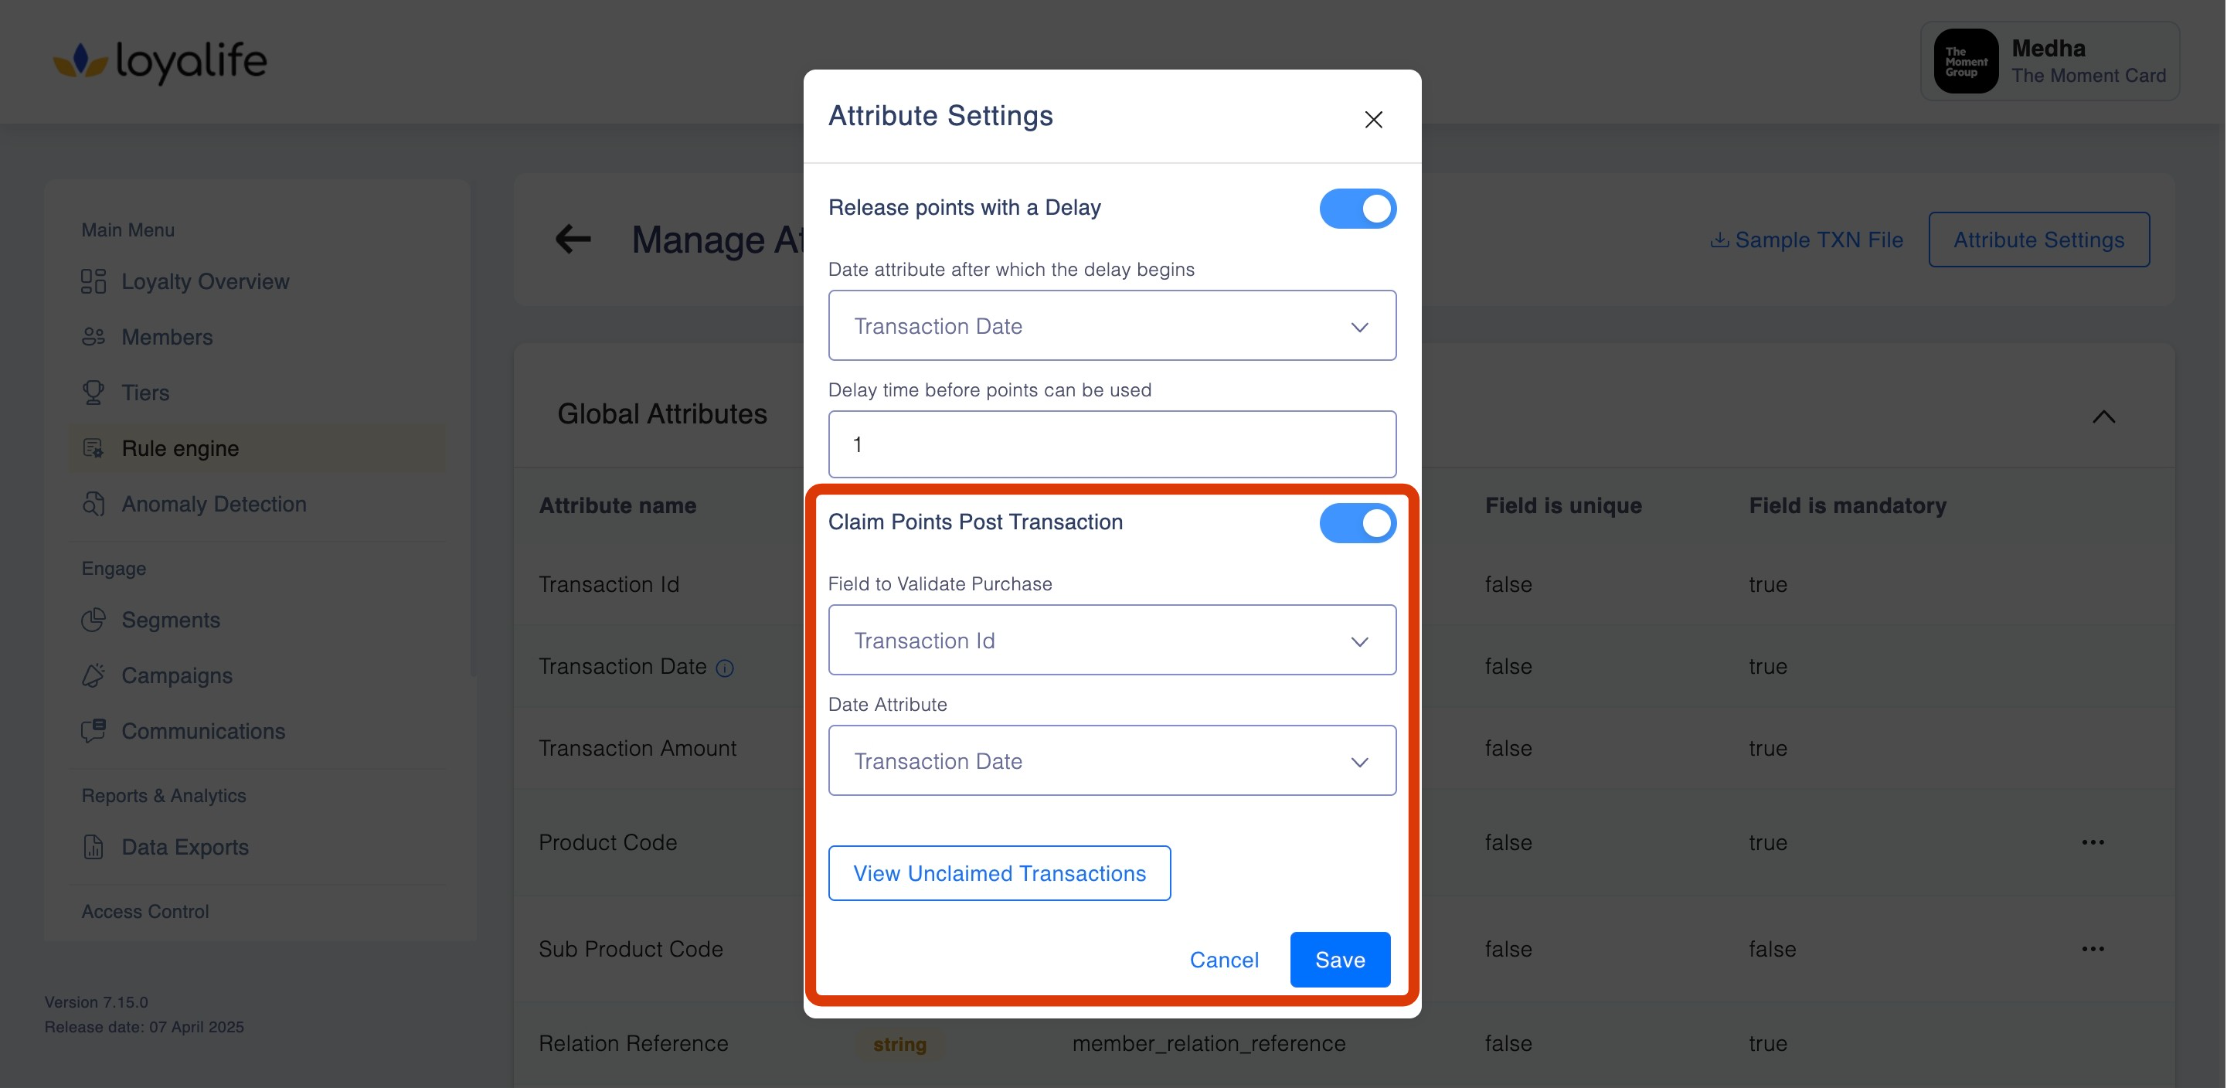
3. View Unclaimed Transaction Data
This section allows you to review transactions that have not been claimed or credited with points.
Under Unclaimed Transactions, you can:
View all unclaimed transactions. This takes you to Reports > Admin data, using three dots you can download or share the report.
Pre-requisites
A user needs permission from admin in User Access Management in order to create attributes.
Updated 2 days ago